
Thank you to Arcsoft proud sponsors of our latest photo competition.
Panorama Maker 6 by Arcsoft is an automatic panorama stitching program, linked with an optional online photo printing service. PMK6 is powerful and convenient for both the schooled and novice alike. The latest iteration even generates 3D versions of your shots with ease. Let’s discuss these and other key features, and how to best use them.
There’re two basic things a panorama stitching program needs to do well to provide high-end output. The most important of these is to distort and weave together the actual initial images in a clever way, so as to produce a continuous image that doesn’t appear distorted to the human eye. The other is adjusting the brightness and contrasting of the different photos so they look just like one when put together. Panorama Maker 6 does a great job of both, automatically.

The screen-shot above is what you’ll first see upon opening the program. First you need good photos, and under the “Help” menu tab along the upper left you can find just that: tips on how to shoot photos or videos, and checklists for each. When you have photos, you can select them from your computer directory on the left-hand side of the screen. Click on the desired folder, and the contents are clearly displayed in the center and on the right. Hold the CTRL key down while clicking to choose or un-choose photos to stitch together.
Buttons along the top of the photo-selection area let you rotate, tag, rate, or delete pictures, or rename an entire batch. The program will automatically stitch the pictures together as it best sees fit, unless you want to manually select “horizontal,” “360°,” “tile,” or “vertical” at the bottom left (“Stitch as”). Note that for a 360-degree panorama, you’ll need a minimum of six photos. To move on to stitching, just click on “Next” in the lower right corner.
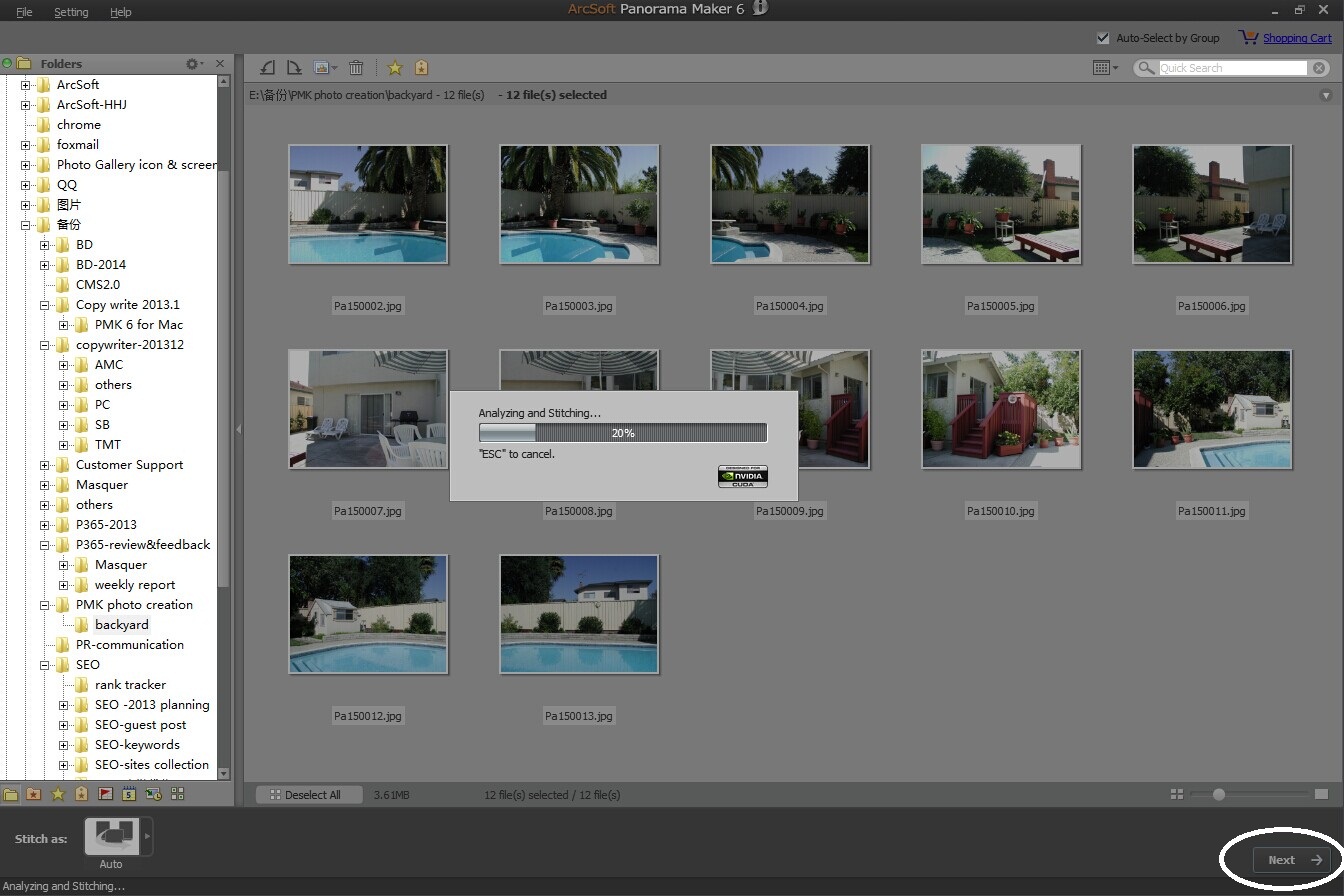
If you went with “Auto,” you’ll get your panorama generated in just a few seconds. With decent photos you’re unlikely to require any manual adjustments to the stitching itself, though that’s always an option. The button for that is in the menu on the lower right-side, along with “Preview,” 3D Preview,” Frame” (to put a frame and caption on a finished panorama), and “New” (to move on to another panorama). Edits you may be more likely to do including cropping (select / deselect via the check-box upper left), leveling, or adjusting the brightness and/or contrast (via two buttons center-top).

With the previously mentioned “3D Preview” button you can do just that, but of course you’ll need to use 3D glasses. A few handy refinements are at your disposal with “3D Settings” under the “Setting” tab upper left. The screen-shot above shows the pop-up window for 3D settings. “Fit in” and “Slide” let you see the whole pic at once or zoom in on details.
One tweak you may need if you feel dizzy when viewing your panorama in 3D, as the window reminds you, is to change the display format. This may be from a mismatch between your display monitor and 3D glasses. There are different formats to try out, really just four different ways to make the picture appear 3D: “Pageflip,” “Line interweave,” “Checkerboard,” and “Anaglyph.” You can also adjust the depth and offset with the two sliding bars show above.
That’s about all there is to it! Now you’re ready to “Print,” “Save,” or “Order Panorama” with the tabs at upper-right.

Ordering your panorama photo, as you can see above, is self-explanatory. Choose matte or gloss finish, picture size, and quantity of each photo as shown here. More size choices beyond these six are possible by going to www.denevi.com using the link below “Quantity.” Similar to other e-commerce sites, making selections creates a “shopping cart” which you continue on with to pay at “check-out.”
Support is always available at ArcSoft, but rarely needed. The best way to begin and continue with Panorama Maker 6 is to just dive in, and start swimming!
